THE LAZY GARDENER’S METHOD FOR MAKING A NEW GARDEN BED
copyright by Joanne Neale d/b/a Garden MentorSM
“If you are planning a new garden bed, you can kill weeds and improve the quality of your soil without digging by placing a layer of newspaper (no more than 8 sheets thick) under a thick layer of organic matter. You can also use cardboard laid flat, but it will take longer to decompose. Cardboard works better if you are trying to smother difficult or invasive weeds.
- First, cut any grass or weeds as low as you can (around 2″), without pulling them out. A lawnmower works best for large areas. . . .
- Dig an “edge” around the bed to prevent grass and other plants from growing into it. Use an edging tool or a sharp spade.
- Next, overlap the edges of the newspaper so no plants can sneak through the spaces. Let the newspaper drape over the outside “edge” of the bed. Water the newspaper to keep it from blowing/dislodging.
- Optional: If you cover the newspaper with 2-3” of compost or manure, and then cover with mulch, you will have further improved the soil quality.
- Last, cover with 2-3” of high quality mulch (finely shredded cedar bark, chopped leaves, etc.
- Watch the area and be diligent about pulling up any weeds that appear in the mulch. Over several months the newspaper or cardboard will decompose, and many weed seeds will have been killed. At planting time, you can move aside the mulch and plant.Note: If you want to speed up the decomposition process, you should layer newspaper/compost/mulch, and drape a sheet of black plastic over the area to keep it warm. Be sure to punch holes in the plastic so water and air can get in.
How long until you can plant in this new bed?

The longer you leave it, the better the soil structure will be. Ideally, you would wait a full year, or start in summer and plant the next spring.
WHAT TO DO WITH ALL THOSE LEAVES?
copyright by Joanne Neale d/b/a Garden MentorSM
TIP #1 DON’T BAG OR BLOW LEAVES, CHOP THEM. You can reduce the volume of fallen leaves to 10% of the original, simply by chopping them with your mower. Be sure you have a sharp blade, then simply rake them into piles and mow over them several times. (This works best with fairly dry leaves; wet ones may clog your mower.) Here is a link to a good mower blade which makes quick work of leaves, just be sure to get the size that fits your mower. NOTE: Electric mowers are generally not meant for chopping leaves – check your owner’s manual.
Maxpower 331980S 20-Inch Universal Gold Metal Mulching Lawn Mower Blade. [For gas mowers only.]
BENEFIT TO YOU: If you’ve done it yourself in the past – less work bagging, less trips to the transfer station. If you’ve always hired someone to “blow them away” – money saved and a quieter neighborhood. In both cases – free mulch (See Tip #2.)
BENEFIT TO THE ENVIRONMENT: You’ve recycled a part of nature and reduced the use of those plastic/paper “lawn and leaf” bags. It’s best to “leave your leaves” until early spring (after about a week of 50 degree plus days). Just as in undisturbed forests, they will provide fall and winter protection for many small mammals as well as insects such as ground-nesting bees, butterfly chrysalis, etc. You can blow leaves off your lawn and away from your house, into piles in unobtrusive spots where they will be available to serve as shelter. You can also keep some in trash bags or cans until spring – this will allow them to decompose a bit, which will enrich the soil when you do use them as mulch.
TIP #2 MAKE YOUR OWN MULCH. After you’ve chopped those leaves, you can rake them onto your flower beds and shrub borders as a decorative and protective mulch. Wait to mulch until the soil has warmed up in spring!
BENEFIT TO YOU: You’ve saved the expense of having a huge, heavy pile of mulch dumped in your driveway, and the work of wheel-barrowing it to all the beds. You’ve also saved on fertilizer – chopped leaves eventually decompose into leaf mold, which is an awesome soil amendment.
BENEFIT TO THE ENVIRONMENT: Fallen leaves are nature’s own mulch and provide great benefit to the soil as they decompose. Granted, they decompose faster than bark mulches, but that just means they feed your soil faster. And you’ll have an endless supply each fall.
All my gardens are mulched with chopped leaves, and have been for many years. They are never watered unless there is a severe drought. Please check out this video in which garden writer Sydney Eddison explains the easy way to do it in your own yard.”
THE RIGHT WAY TO WATER YOUR GARDEN
copyright by Joanne Neale d/b/a Garden MentorSM
- “The key to getting a new plant off to a good start is moisture. Water thoroughly after planting, and keep a close eye on the plant over the following week. If you see it wilt on a hot, sunny day, check the soil with your finger to a depth of about 1in. If the soil is dry, water thoroughly. But if the soil below the surface is moist to the touch, don’t water. The plant is probably wilting because the roots are unable to supply the top with sufficient moisture even though the soil is damp. The remedy is to contrive some means of shading the plant. Within a week or so, the roots should catch up, and you can remove the shading.
- After the first week, give a new plant a good soaking once a week during summer unless rainfall is plentiful (more than 1 inch per week). Established plants can generally get by on less water, but most grow best if the soil remains evenly moist.
- Be certain to water deeply. Avoid overhead (sprinkler) watering if possible in favor of drip irrigation or soaker hoses.
- Water early in the day to allow foliage to dry before dark – this helps prevent diseases and saves on evaporation of water.
- Generally, “one inch of water once a week” if there has been no rain is a good rule to follow. You can measure an inch by placing an empty tuna can level with the ground; when it is full, you have watered an inch.
- Carefully monitor soil moisture levels until your plants are well-established, which can take several years. Many plants die from over- or under-watering. Even established plants may require water during excessively dry periods.
- Please note that more water is not better. When in doubt, don’t water. A light sprinkling every day or two only makes your plants less able to withstand dry conditions – as a result, they will not do well if you fail to give them their “expected’ dose of water. This is a labor and water intensive method of watering, not a good practice!”
*******************************************************************
IMPROVE YOUR SOIL AND STOP WASTING WATER
Do you know that adding organic matter to your soil will make it much more water-retentive, allowing you to cut back on watering? Rich, moisture-retentive soil will enable your plants to withstand drought and make it easier to comply with watering bans. It’s easy to add a 1-2″ layer of well-decayed compost. You can buy it for a nominal fee at the Needham Recycling and Transfer Station, (the RTS or “dump”), make compost yourself, or hire a company. Well decayed compost can be thrown under shrubs and into flower beds and used as a mulch around trees.
If you compost at home, using a bin will keep animals from getting into the compost.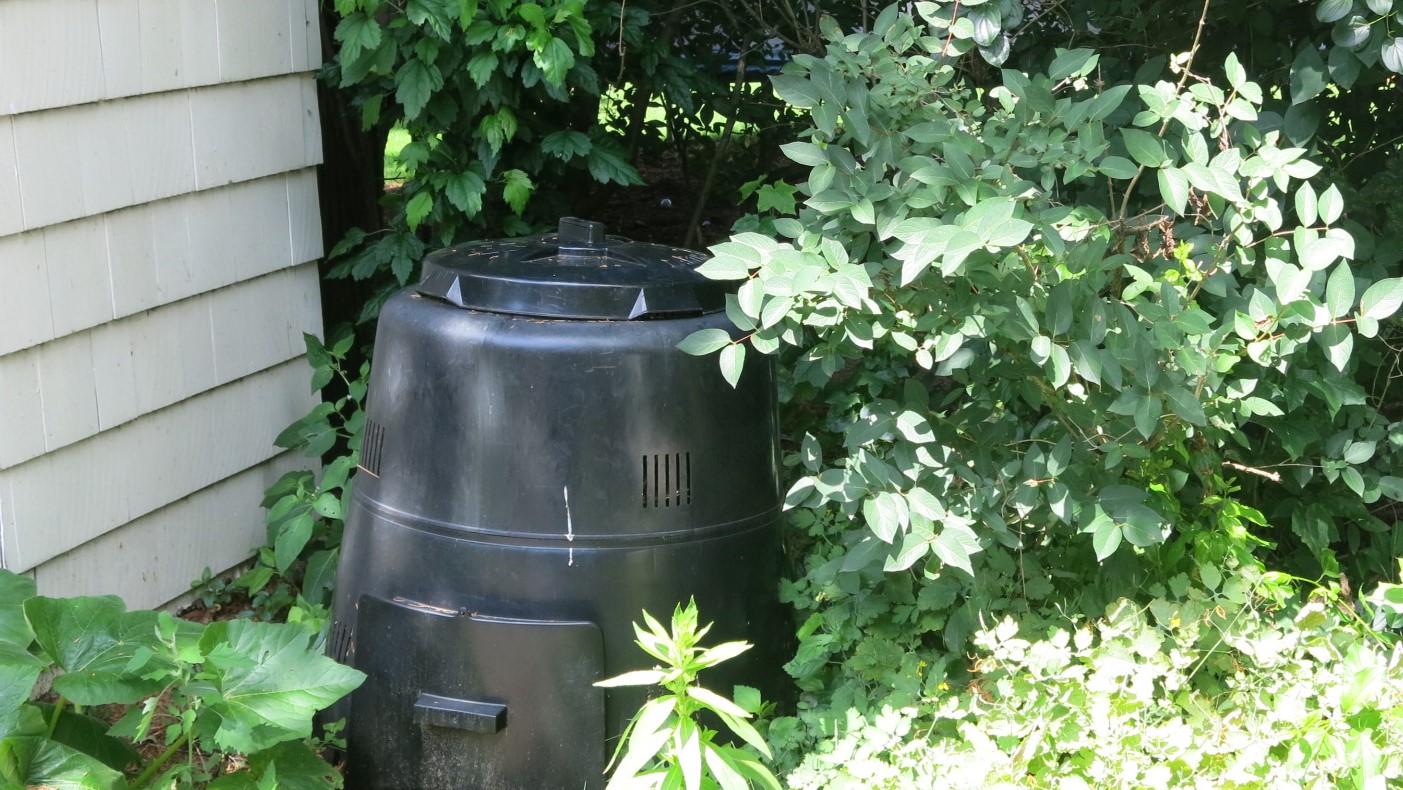 In Needham, compost bins are available for purchase at the RTS. Go to the RTS office and give them your RTS sticker number. Directions are included.
RAIN BARRELS ARE A SMART IDEA
Plants like rainwater, because it’s naturally soft, and free of chlorine. Plus, collecting rainwater is a great way to deal with watering restrictions and save some money on your water bill.
It’s surprising how much water you can collect from downspouts that spill 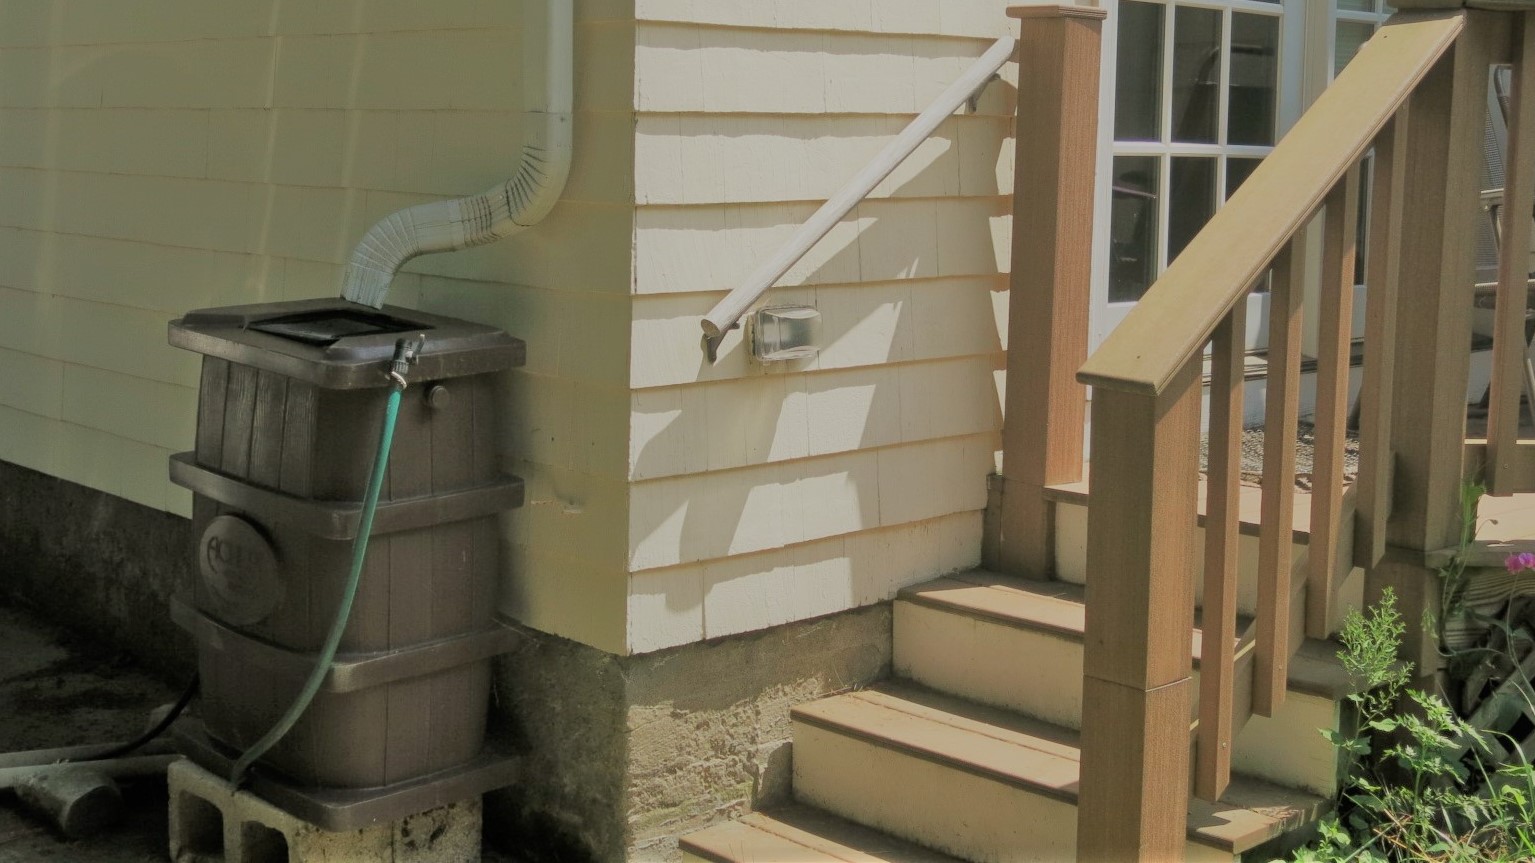 into the top of your rain barrel. You access the water in a rain barrel from an attached spigot, then use it to fill a watering can. Or connect a hose to it, provided you don’t need the water to go uphill since they work on gravity.
The Town of Needham sells rain barrels and Soil Moisture Sensors. Check out the Town’s website to learn more. See also Water Conservation Tips from Needham’s Public Works Department.
Here is a Massachusetts Office of Environmental Affairs page on where to obtain (or how to make your own) rain barrels.
Updated August, 2023
Resources
